
Phases, steps and checkpoints
A recipe is more than its ingredient list. The method lives on the formula too, structured so it can be printed on a recipe sheet and checked off during a run.
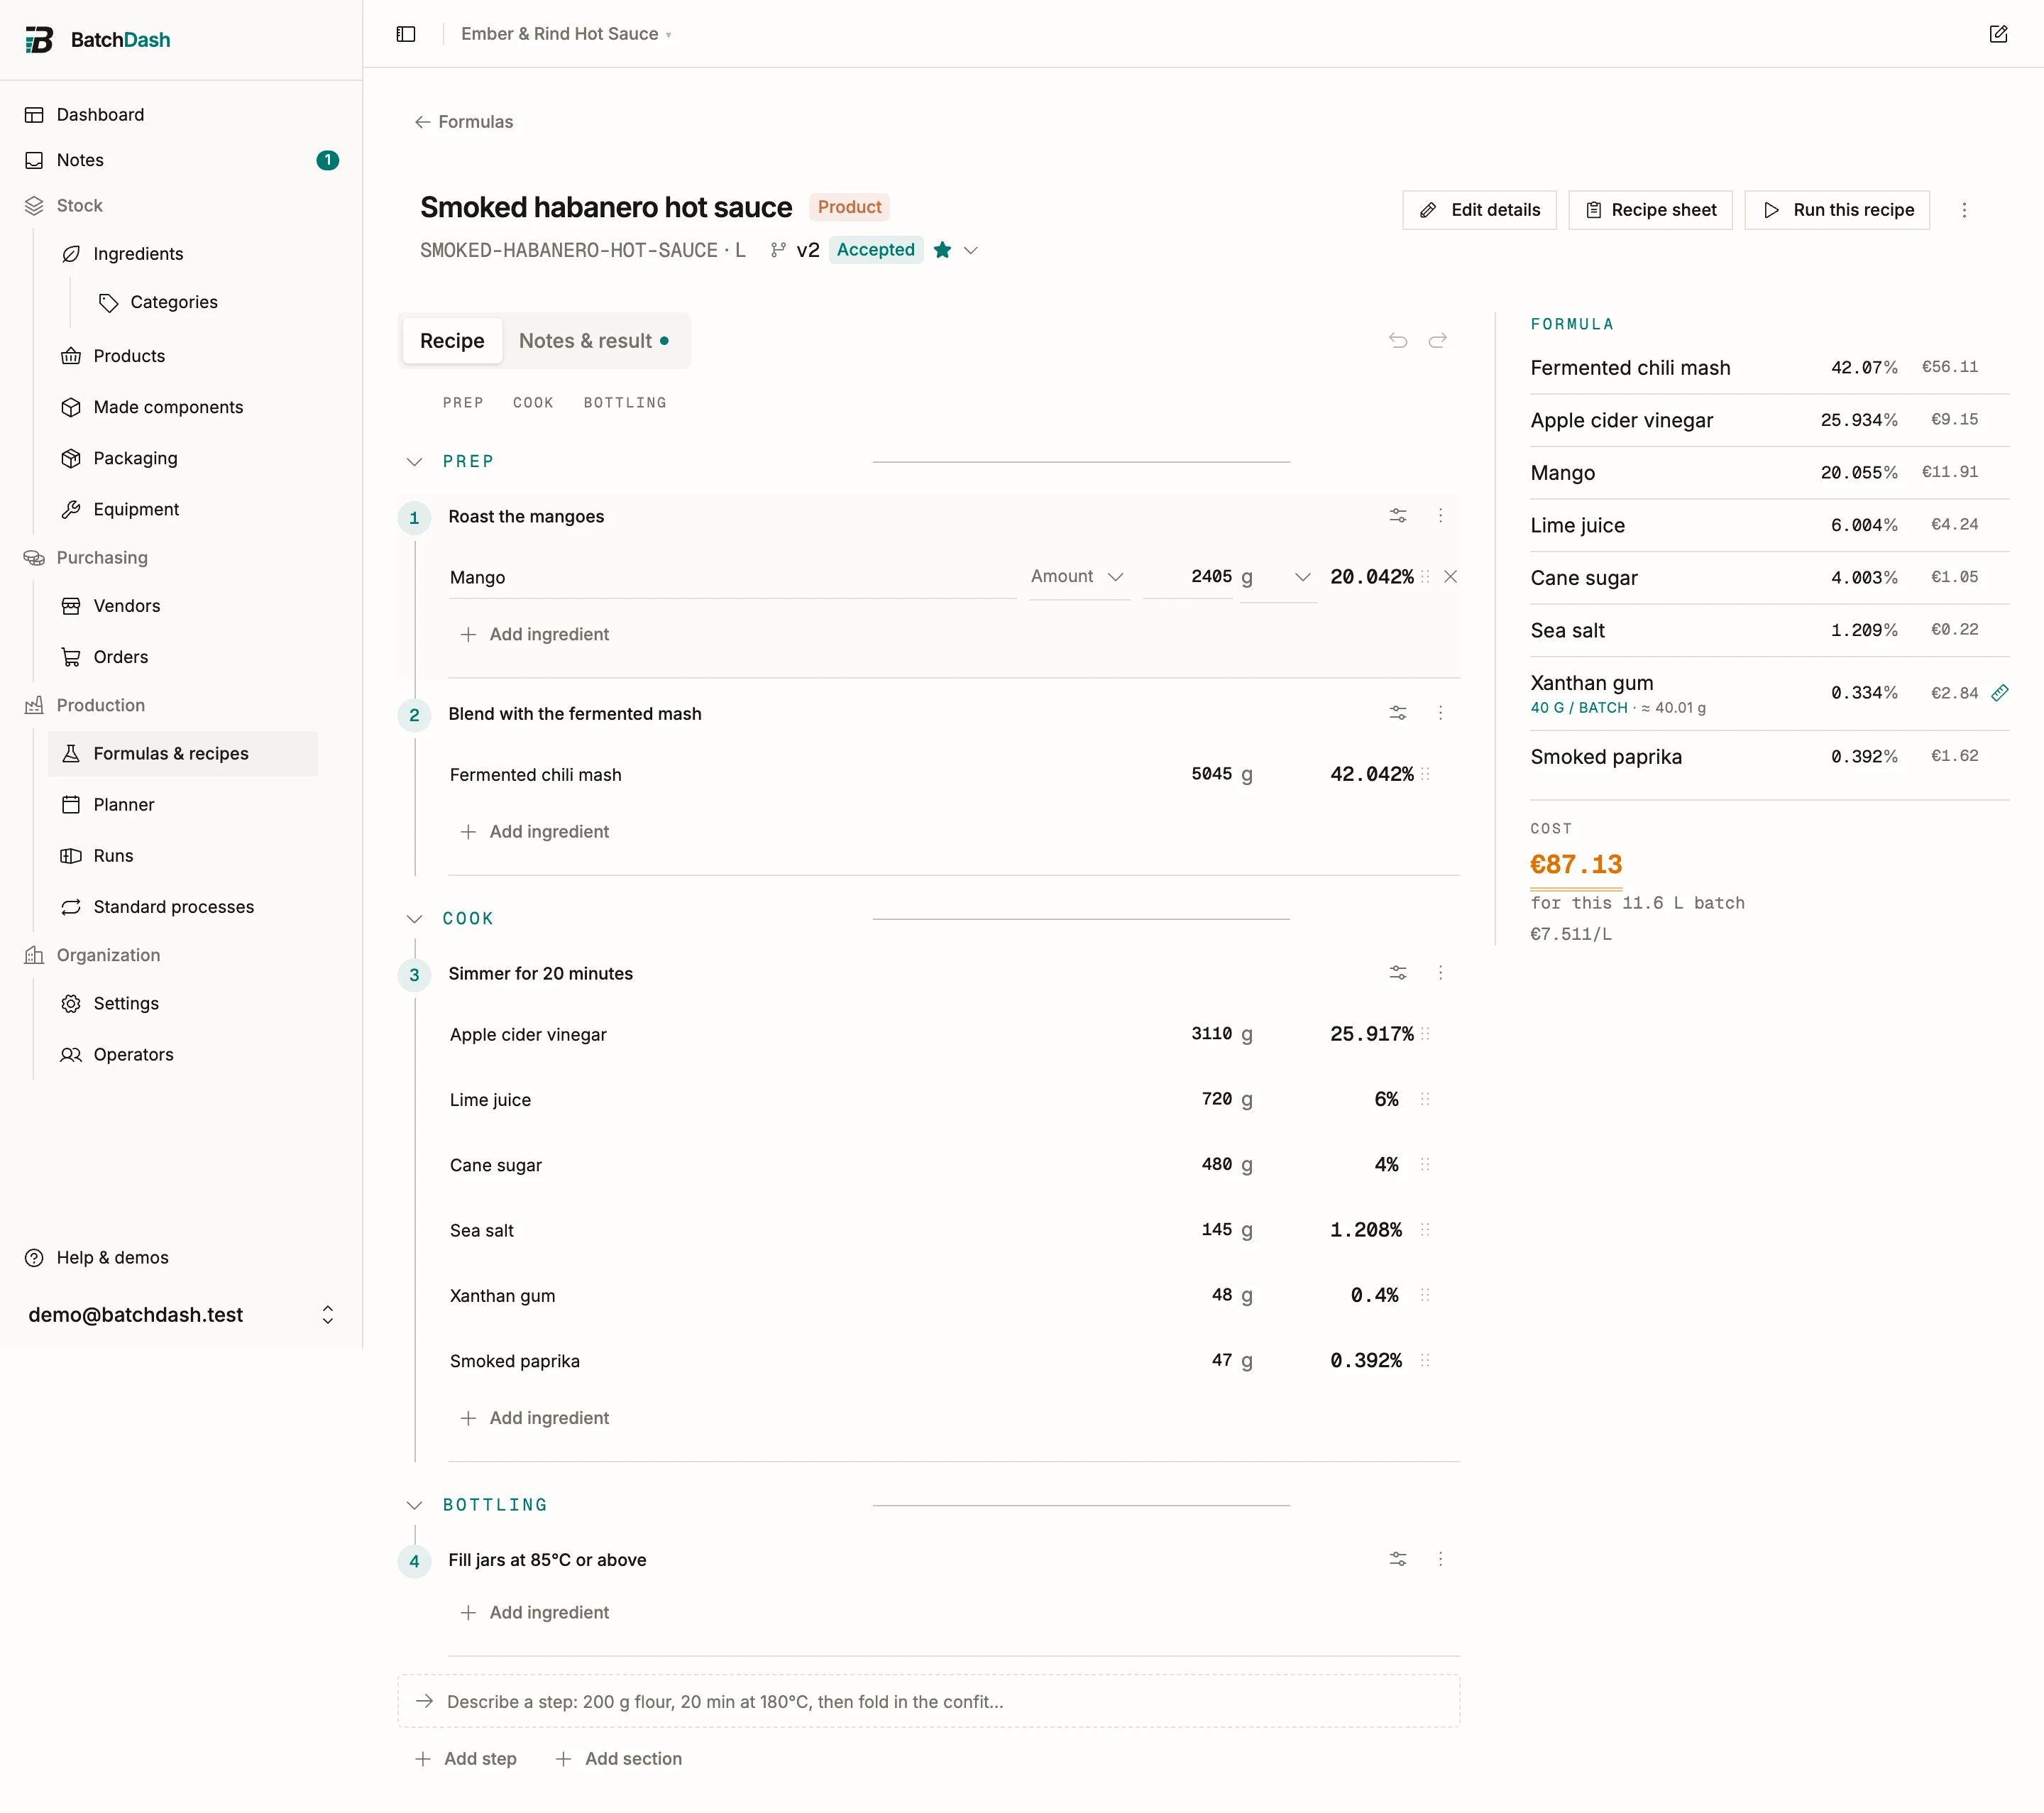
Phases and steps
Section titled “Phases and steps”Group the work into phases: Ferment, Blend, Bottle. Each phase holds steps, and each step is one instruction (“Reduce on medium heat”). A step can carry parameters:
- Temperature
- Active time (hands-on) and Wait time (the pot doesn’t need you)
- RPM, or a free-text Speed (“low”, “medium”)
Notes, hygiene and critical steps
Section titled “Notes, hygiene and critical steps”Under a step you can add three kinds of guidance:
- Notes: anything the next pair of hands should know.
- Hygiene / safety: “Sanitize the vessel first”. Printed with the step.
- Critical control point: the CCP flag for steps your food-safety plan watches. It stands out on the sheet and during runs.
Checkpoints
Section titled “Checkpoints”A checkpoint turns “check the acidity” into a gate someone can answer. Click Add checkpoint on a step and set:
- A metric: pH, salinity, temperature, hands washed, whatever gets checked.
- What kind of check it is: a measurement, a yes or no, or something you observe.
- For a measurement only, a comparator (≤, ≥, = or a range) and the target value with its unit.
Not every check is a number. A hygiene check has no target, it has an answer, and a visual check (“clear, no sediment”) is a judgment you make and stand behind. So the kind decides the control the maker gets during a run, and who reaches the verdict:
| Kind | What they fill in | Who decides |
|---|---|---|
| A measurement | a number, next to the target | the app, from the target |
| A yes or no | a checkbox | the app: ticked passes |
| Something you observe | a short note, plus pass or fail | you |
From a hot-sauce line: pH ≤ 3.8 before bottling, temperature ≥ 82 °C at fill, salinity between 2.0 and 2.5% during fermentation, surfaces sanitized before the fill, and “clear, no sediment” at the last look. During a run each one gets its own row on the step it belongs to, so “it was fine” becomes something you can look up a year later. See executing a run.
Every checkpoint that existed before value types keeps behaving as a measurement. Nothing to change.
Step equipment
Section titled “Step equipment”Attach equipment to the step that uses it with Add equipment. The recipe sheet then collects everything into one “Equipment to gather” list, so the blender is out before the mash is hot. Equipment records also carry acquisition costs and amortization; see equipment, units and offers.