
Design a label template
A label template is a design your workshop owns: the size and shape of the sticker, your artwork, and the places where each batch writes its own facts. You design it once. Printing fills it.
Where it is
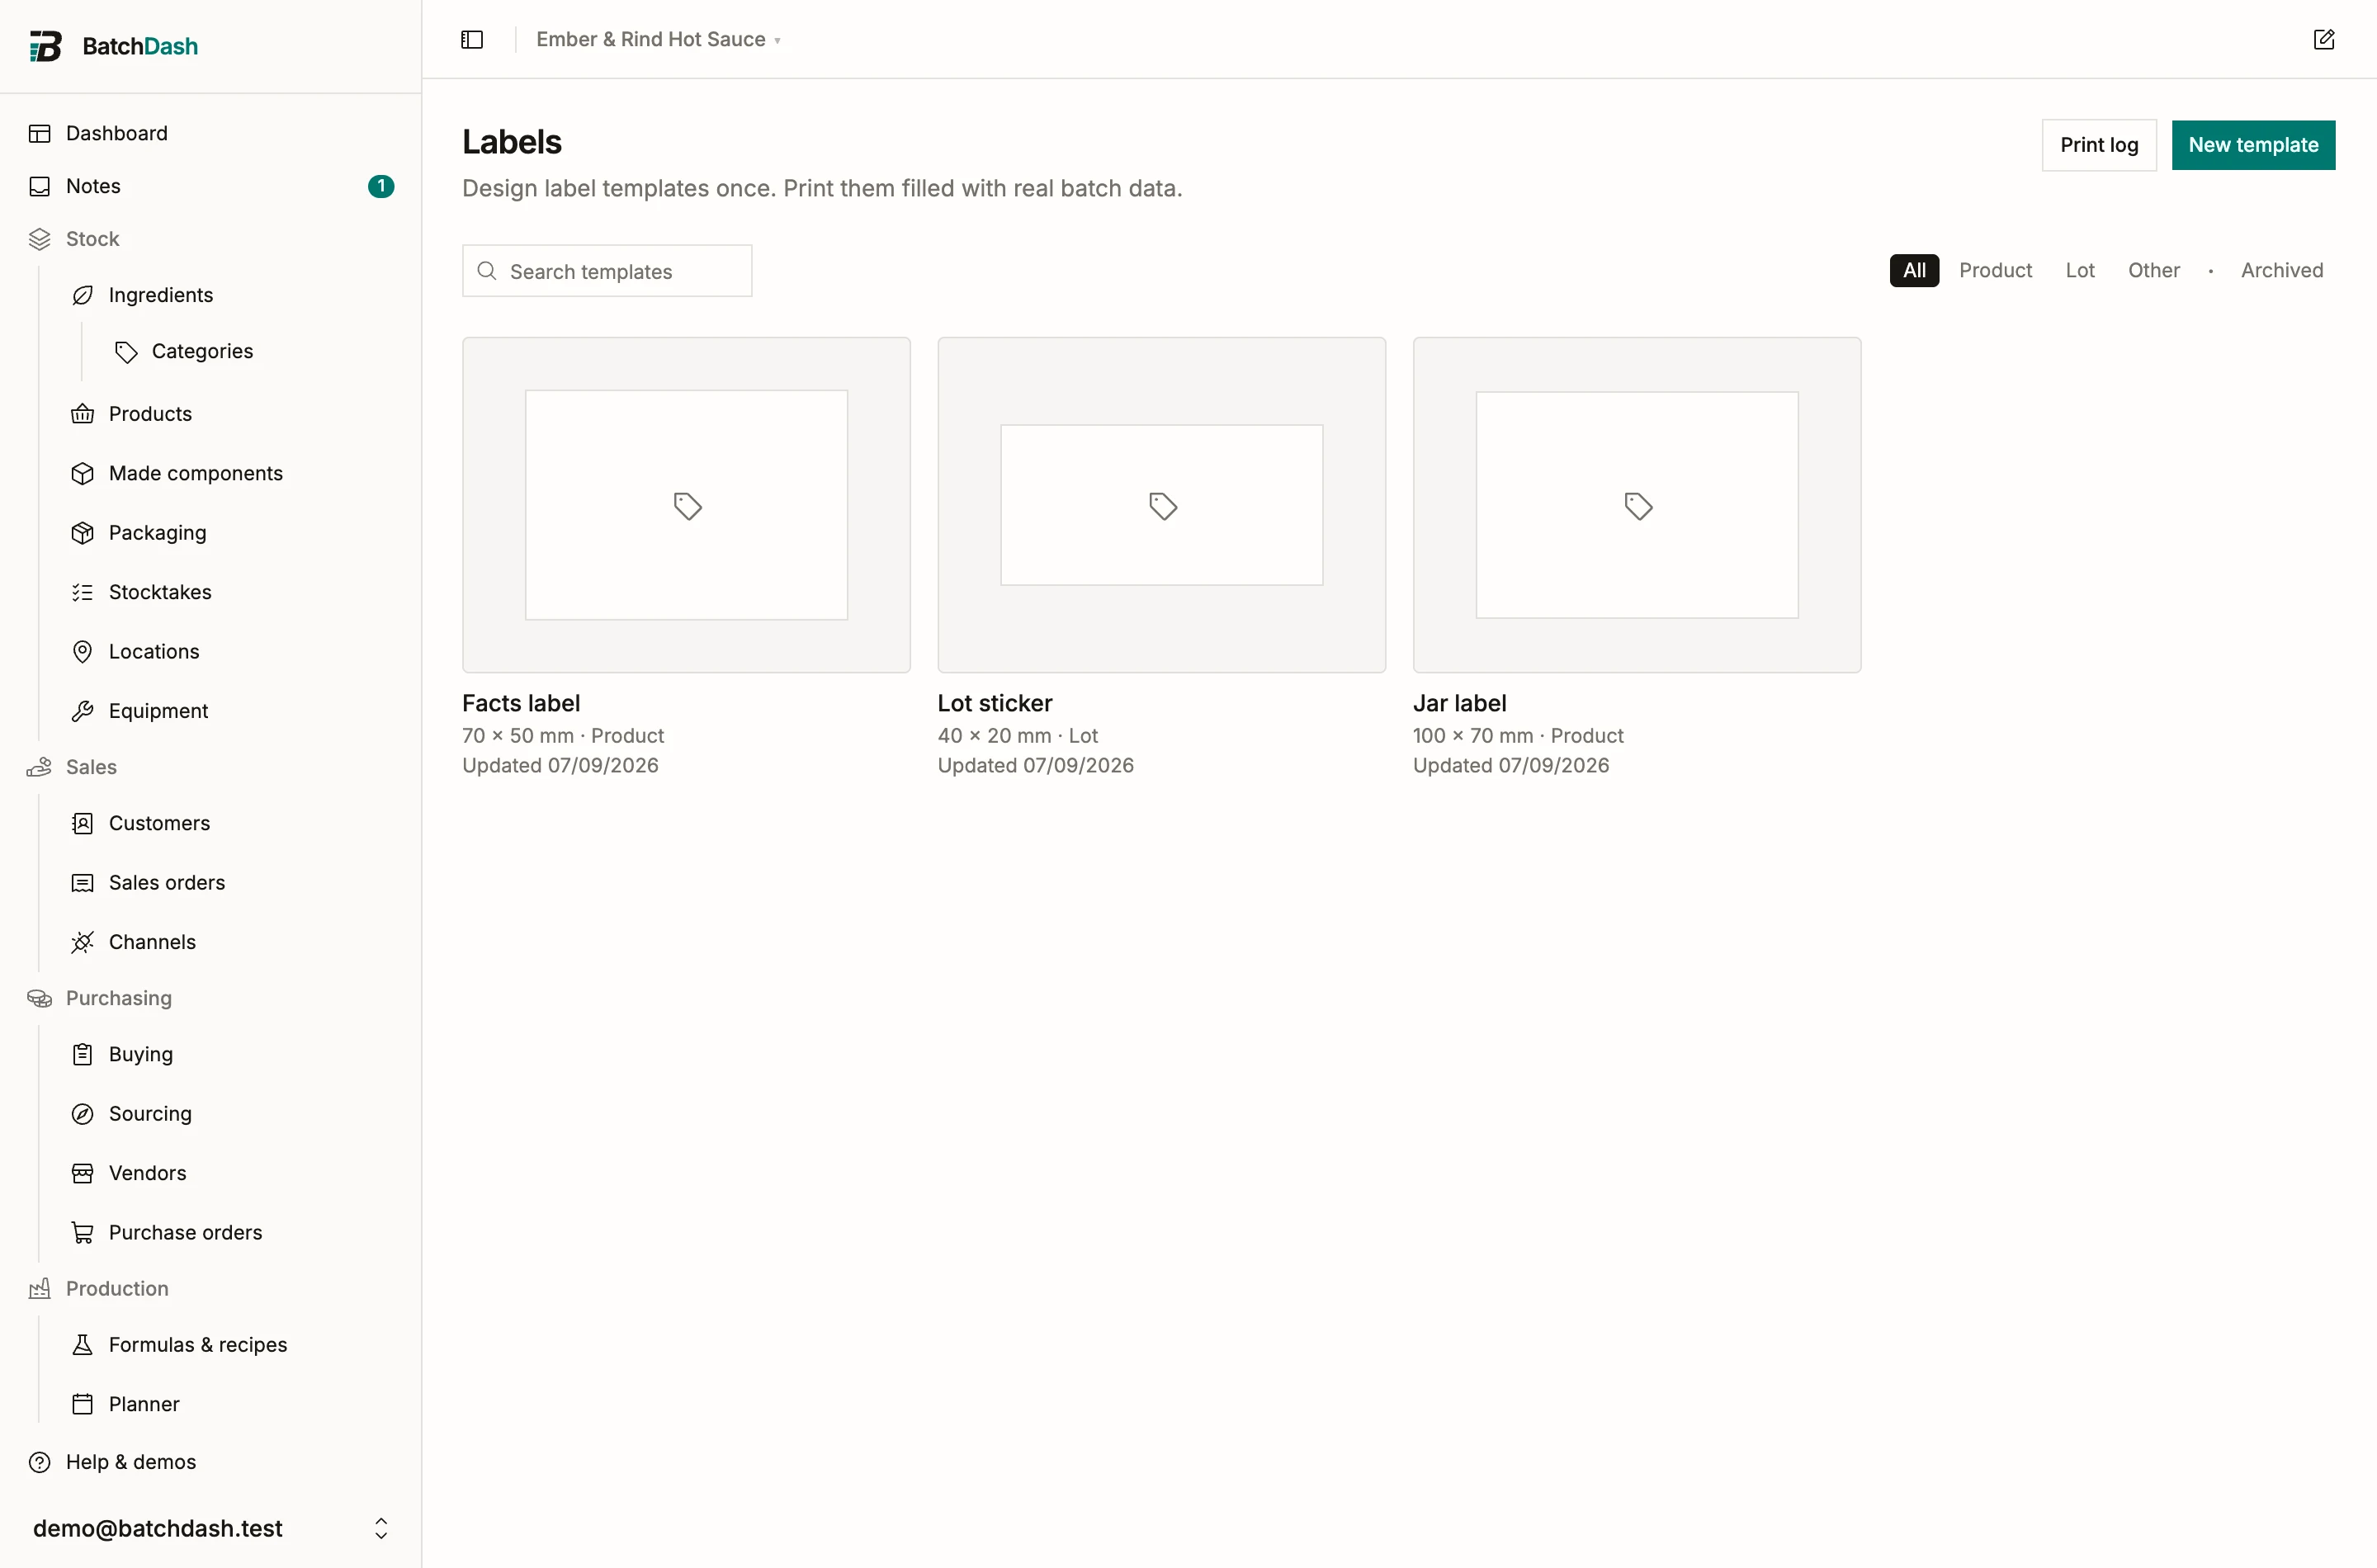
Section titled “Where it is”Labels, in the Production section of the sidebar. The gallery shows every template as it prints, drawn by the same renderer that will produce the PDF, with the cut size under each card.
Create the template
Section titled “Create the template”New template asks three things: a name, a size, and a shape. The size presets are the ones roll printers and common label sheets actually cut; Custom takes your own millimeters. Shapes are rectangle, rounded corners, circle and oval.
Starters skip the blank page. A lot sticker, a product label, a round jar lid and a few others arrive with a working layout you edit instead of an empty face. Your logo lands on it automatically when you have set one under Label settings.
A template is never tied to a paper. The sheet or roll is chosen at print time, so one design serves both.
Add text and data fields
Section titled “Add text and data fields”Text is text: double-click a box and type. A Field is different: it is a slot that fills itself. Place one where the lot number should print, and every batch prints its own lot number there. On the canvas a field shows sample data so you can judge the layout; the sample is watermarked so a screenshot is never mistaken for a real label.
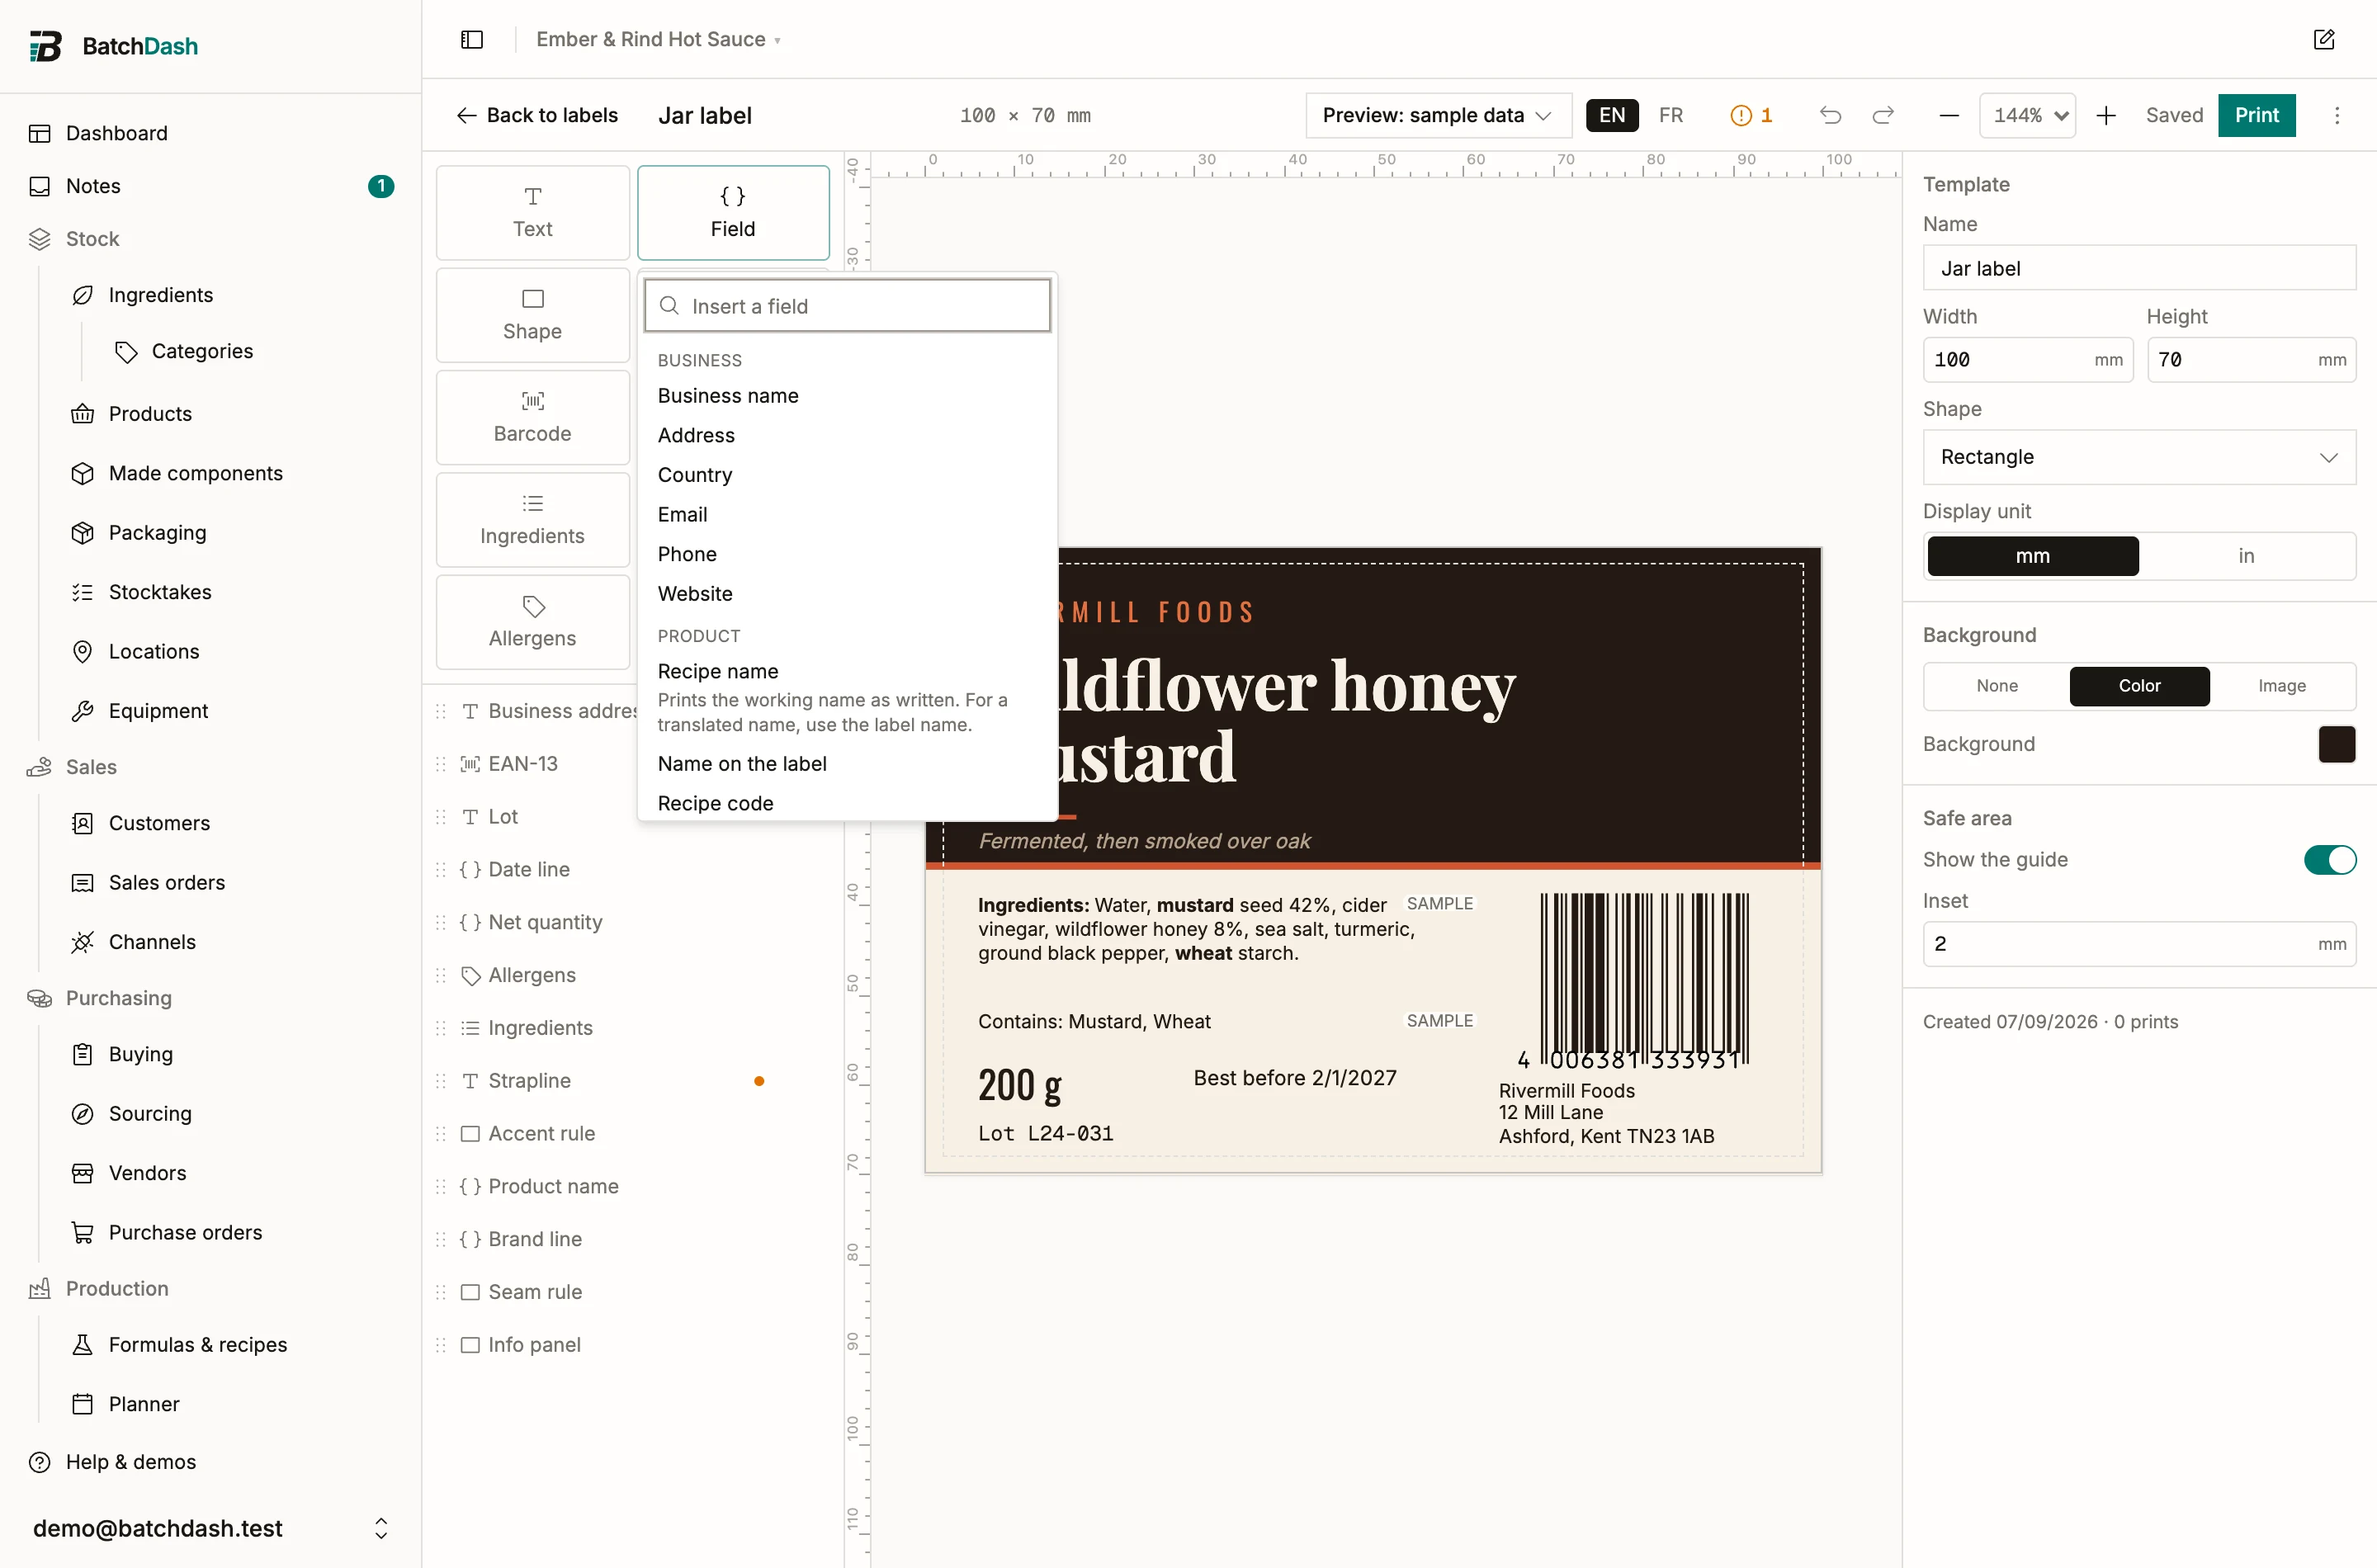
Fields cover the batch (lot, dates, net quantity), the product (name, barcode number, format, SKU), your business line, and the sealed blocks: the ingredient declaration, the nutrition panel and the allergen lines, exactly as the batch’s label data page shows them. A date field chooses how it reads, from 2026-08-17 to August 17, 2026.
Bring in your artwork
Section titled “Bring in your artwork”Drop a PNG, an SVG, a PSD or a PDF onto the canvas.
- A PNG or SVG lands as an image element at its own proportions.
- A PSD opens a layer picker; the layers you choose arrive as separate images, positions preserved.
- A PDF (an Illustrator file saved with PDF compatibility counts) lands its page as the label background.
Layers arrive as images, factually: text inside a PSD is not editable text here. Fonts are separate; upload a WOFF2 under the font picker and it prints exactly as it previews. Only add fonts you have the right to print with.
Preview with real data
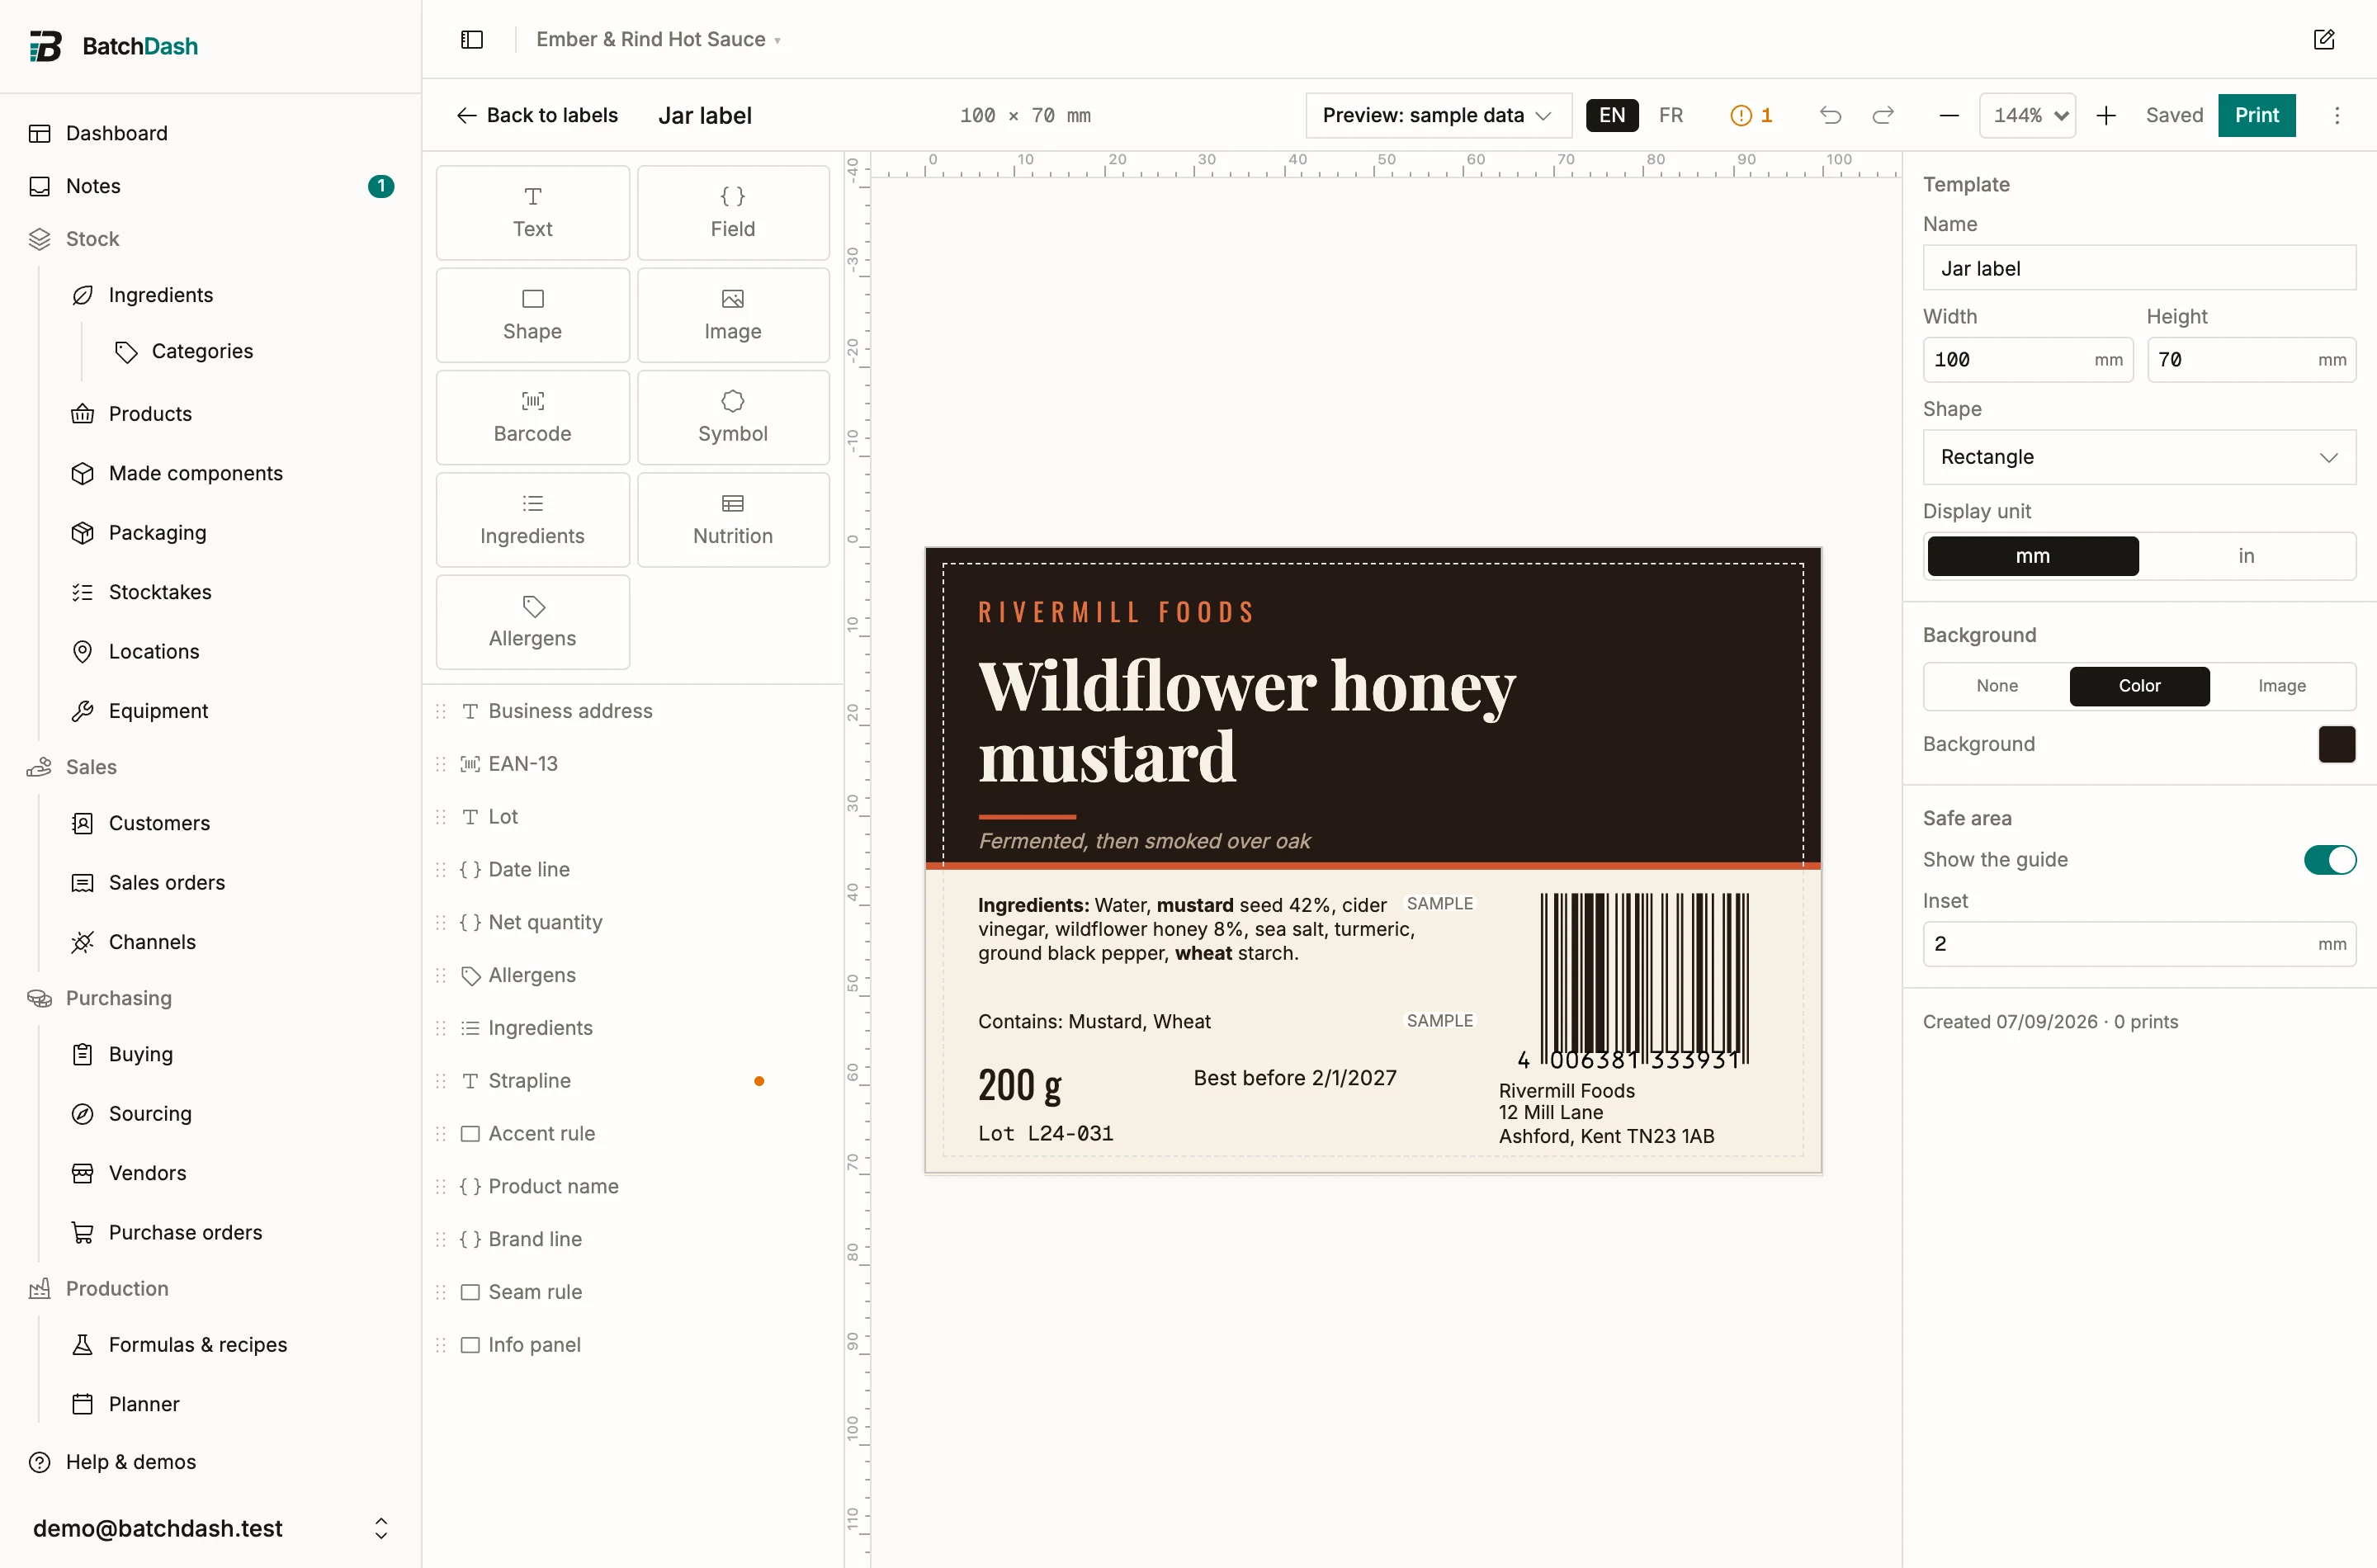
Section titled “Preview with real data”The Preview picker at the top binds the canvas to a record: a completed batch, a stock lot, a recipe in one of its sale formats, an ingredient. Every field resolves to that record’s real values, and the sealed declaration matches the batch’s own label data page, allergen marking included.
The warnings list
Section titled “The warnings list”The triangle in the top bar counts what deserves attention before paper does: an element outside the label, type too small to survive ink spread, small print under the EU’s legal minimum, a barcode that will not scan at this size, a field with no value in the bound data. Clicking a warning selects the element it is about. Warnings never block printing; you are the one holding the test sheet.